Sweet Healing

I recently noticed Gus laying on my bed, ready for bedtime and waiting for his siblings to finish getting ready. A somewhat common occurrence, but seeing him in a pair of monkey pajamas gave me a flashback.

2014-05-26_0007

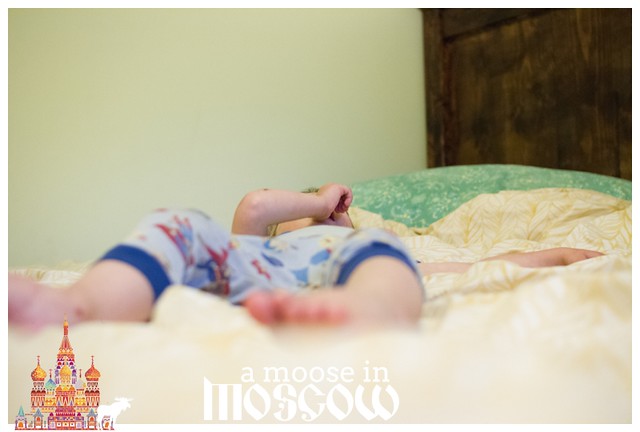
When I came in, he just giggled and asked me to tickle him. No big deal, right?

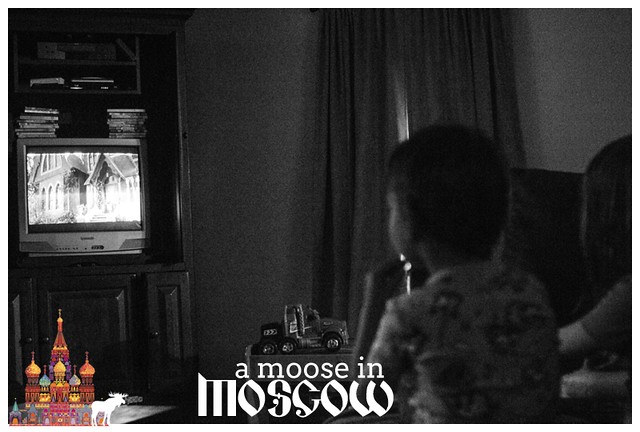
Well, I think many adoptive parents would agree that the hardest time is bedtime. Actually, I think most parents would agree on that, too, but having children who have been in an orphanage, where bedtime meant changing caregivers or not enough people to sooth them to sleep or who knows what else, bedtime is an extra challenge. It’s a time of vulnerability. Instead of the sweet vulnerability you often see in kids who have been nurtured their entire lives, rage and fear often take its place.

I’m pretty familiar with these emotions.

But, do you see that?
2014-05-26_0003

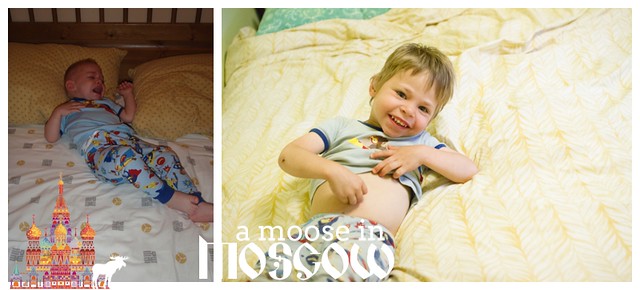
Almost two years of difference. Two years of healing and trust being built up.
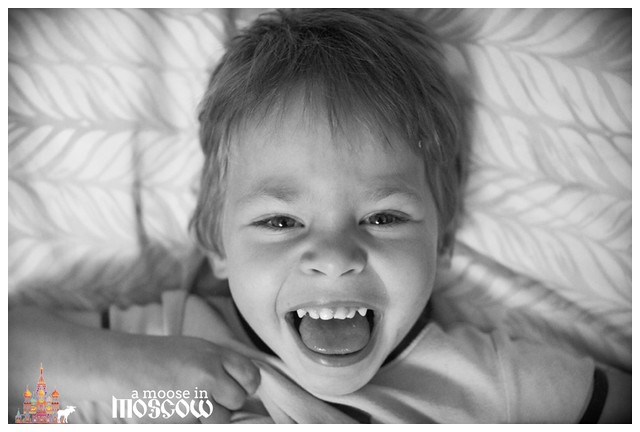
2014-05-26_0006

Love wins.

Summer Movie Night

As a special end-of-summer treat, we did a movie night. Reed and Lena got to stay up for a movie, and Gus was allowed to stay up, too, on the condition that he didn’t melt down from the late bedtime.
2014-05-26_0001

They often watch something off of Netflix, their pick. But, what made this night unique, in addition to the popcorn, was that it was a movie I picked out and I sat down and watched the entire thing with them. Normally, movie time for them means time for me to get things done.
2014-05-26_0002

However, I found that actually sitting down for a movie with them was a great bonding time. By the end of the movie, I had both Lena and Gus on my lap. Reed was still busy finding the last popcorn kernels to munch on.

We all really enjoyed ourselves, and I think this might have to become a Friday night tradition. I picked Nanny McPhee, which I saw a few years ago and really enjoyed. I’m going to start introducing them to some of my favorites, as well as watch some movies I’ve never seen and wanted to.

Here’s my list:

Sound of Music
Nanny McPhee
Matilda
Night at the Museum
Mighty Ducks
Sandlot
Little Rascals
Hook
Mr. Magorium’s Wonder Emporium
The Fantastic Mr. Fox
Harry Potter and the Sorcerer’s Stone
Willy Wonka and the Chocolate Factory

Any that you would suggest?

Photoshop Tutorial: School Year Composite

reedkindergarten
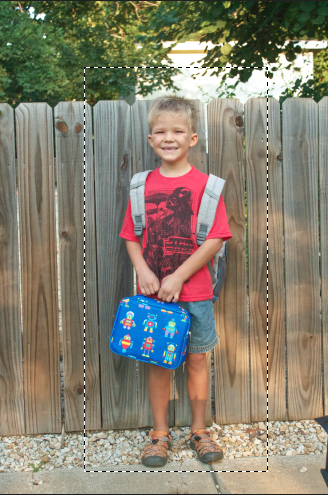
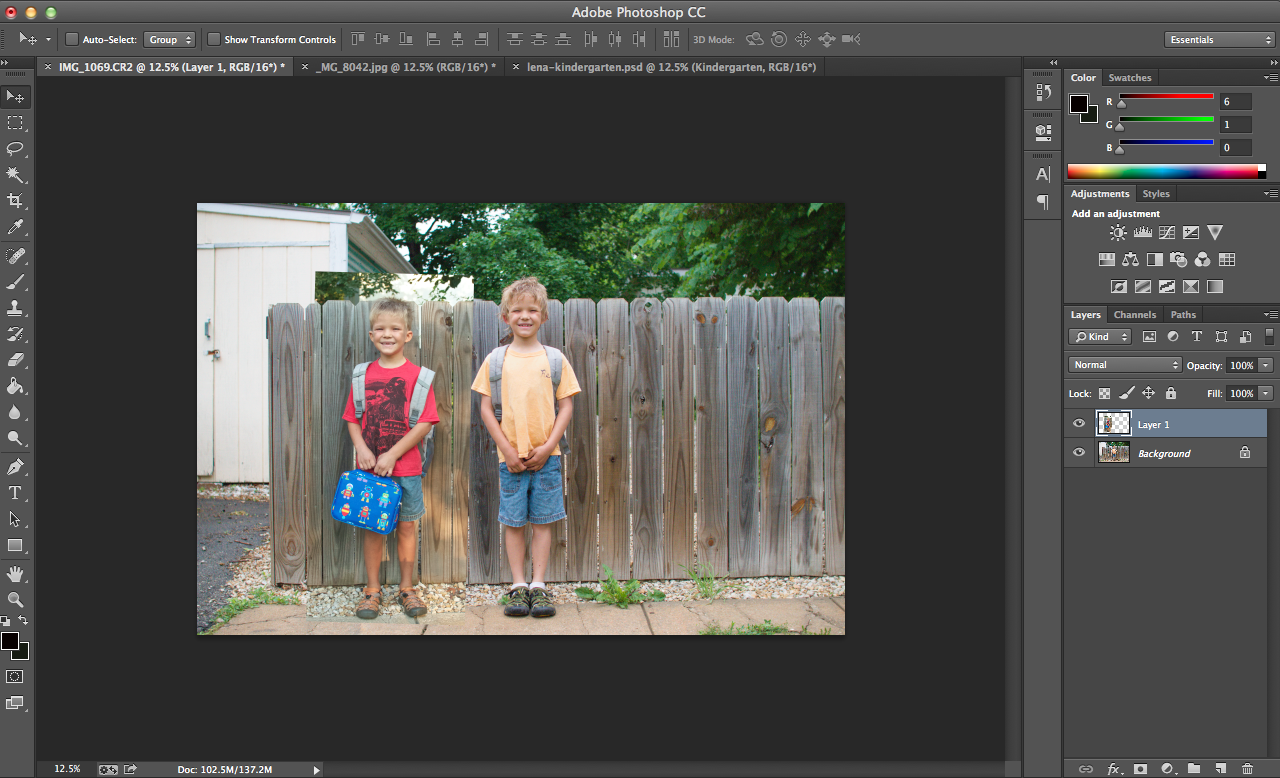
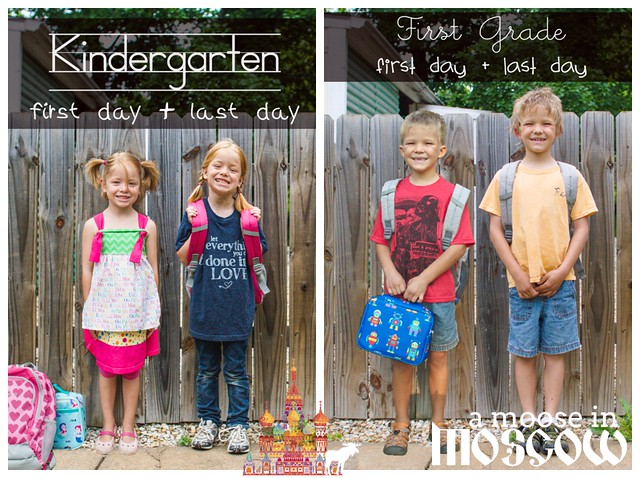
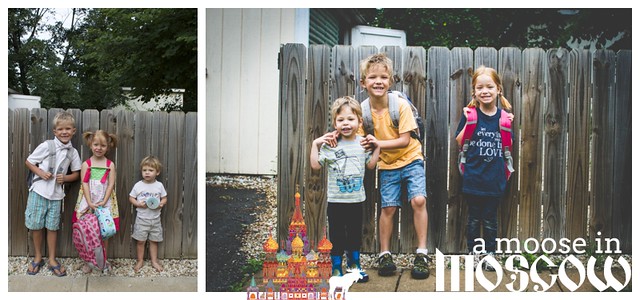
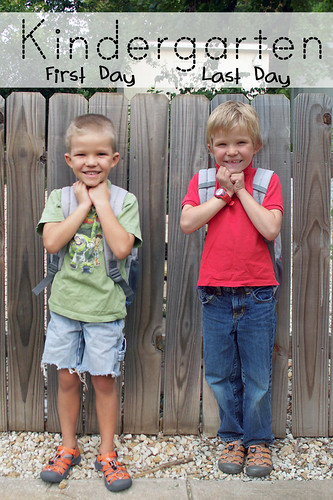
The school year composite photos have become a fun way for me to document the school year and show how my kids changed from August to May. The idea started for me last year, when Reed finished kindergarten. I had two nearly identical photos from his first day and his last day, and I was planning to put them side by side. Then, I wondered why I couldn’t just put these two Reeds side by side in the same photo.

A bit of time spent in Photoshop and it was complete!

Reed thought it was hilarious.

This year, I took both photos with the plan to do this again, and I had a couple of requests for a tutorial. So, here you go. 🙂


School Year Composite Photo:

  1. Pick your location. Someplace which you know will not change very much over the course of the school year. A front porch, or in our case, our fence.
  2. Place your child in front of their location and snap your photo. If you can, take the photo from a spot where you will remember to stand in 9 months. Take a good photo, with particular attention to the sharpness.
  3. Repeat step number two at the end of the school year. 🙂
  4. Edit your photos as similarly as possible. If you use Lightroom, use the “Develop Settings/Copy Settings” option to copy over all of the settings. Screen Shot 2014-05-24 at 5.01.58 PM
  5.  Bring both photos into photoshop. Again, if you use Lightroom, you can do this using “Edit In/Edit In Adobe Photoshop”.
  6. Pick which photo you like the background better in. Go to the OTHER photo. For me, I usually prefer the end of year one.
  7. Use the selection tool to select your child, with a bit of margin on all sides. Screen Shot 2014-05-22 at 9.20.27 PM
  8. Paste this onto the other photo. Screen Shot 2014-05-22 at 9.19.05 PM
  9. Now, use the background (in my case the fence) to line your two photos up. You will probably need to use the “Free Transform”(⌘T on a Mac on CTRL-T on a PC). Things may not line up perfectly (note the rocks at the bottom of my image), but do your best. 
  10. Now, switch to the eraser tool. Make it pretty large, and start removing the extra background on your pasted layer. Do not bother getting too close to your subject. We’ll deal with that in a minute. Just remove any major excess. Screen Shot 2014-05-22 at 9.21.48 PM
  11. Once you’ve removed the large chunks of background, switch to the background eraser tool (the eraser plus scissors). Now you will use this tool to go around your subject again, but get much closer this time. You may need to adjust to tolerance. Here I have mine set at 12%. Screen Shot 2014-05-22 at 9.22.56 PM
  12. Now go back over it with the regular eraser and touch up any areas where the background eraser didn’t get everything you wanted.
  13. Zoom out to look at your photo. The composite part should be nearly done; do any final touch ups.
  14. Now, it’s time to add the text. I like to do this by adding a black rectangle with white text, like a chalkboard. Start with the rectangle shape tool and make your rectangle. Screen Shot 2014-05-22 at 10.16.56 PM
  15. I like to adjust the opacity(in your layers section), for a softer look. In my final image, I have it set at 73%.
  16. Now, just type your text on. I like to use school-inspired fonts. Da Font is a good place to download free fonts. Screen Shot 2014-05-24 at 11.55.43 PM
  17. All done!

2014-05-24_0001

If you are wondering about obtaining Lightroom and/or Photoshop, I highly recommend the Adobe Photoshop Photography Program, which gives you Lightroom and Photoshop for $10/mo.

Questions? Comments? Ready to give it a try?

Special Needs Sunday: Introduction

I’m starting a new blog series– Special Needs Sunday. I’ve partnered with several adoptive families to tell their stories and advocate for special needs adoption. Each week will feature a different child, family and special need(s) and we will cover medical needs, physical needs, and developmental disabilities. I’ve asked the families to write up their answers in either a Q&A format or a story-like format. The questions I’ve chosen are commonly asked questions when a family is considering adopting a child with special needs– what is day to day life like, what are the costs associated, etc.

There are two purposes of this blog series:

  1. To help families share the reality of parenting a child with special needs.
  2. To advocate and encourage families to be open to special needs when adopting.

Are you ready to learn? Any specific needs that you’d like to hear about?

It’s Summer!

School’s out! And, that’s pretty exciting.
2014-05-24_0002

Both kids had a great year. They both had exceptional teachers who just seem made for teaching their grade.

2014-05-24_0001

(I’ve had some requests for a tutorial on how to make a photo like this. It’s coming.)

All 3 kids on the first day and the last day. Can you tell how much harder I tried at the beginning of the school year?
2014-05-24_0003


Now, we were just trying to get out the door on time. Ha!

I’m thankful for teachers who made my kids want to go to school each day and inspired them to learn. I think it’s rare to find teachers who genuinely care so much and are so good at their job.