
 The school year composite photos have become a fun way for me to document the school year and show how my kids changed from August to May. The idea started for me last year, when Reed finished kindergarten. I had two nearly identical photos from his first day and his last day, and I was planning to put them side by side. Then, I wondered why I couldn’t just put these two Reeds side by side in the same photo.
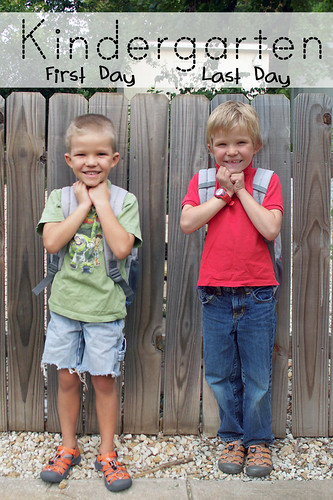
A bit of time spent in Photoshop and it was complete!
Reed thought it was hilarious.
This year, I took both photos with the plan to do this again, and I had a couple of requests for a tutorial. So, here you go. 🙂
School Year Composite Photo:
- Pick your location. Someplace which you know will not change very much over the course of the school year. A front porch, or in our case, our fence.
- Place your child in front of their location and snap your photo. If you can, take the photo from a spot where you will remember to stand in 9 months. Take a good photo, with particular attention to the sharpness.
- Repeat step number two at the end of the school year. 🙂
- Edit your photos as similarly as possible. If you use Lightroom, use the “Develop Settings/Copy Settings” option to copy over all of the settings.

- Bring both photos into photoshop. Again, if you use Lightroom, you can do this using “Edit In/Edit In Adobe Photoshop”.
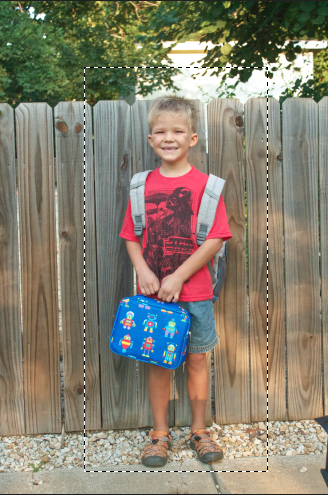
- Pick which photo you like the background better in. Go to the OTHER photo. For me, I usually prefer the end of year one.
- Use the selection tool to select your child, with a bit of margin on all sides.

- Paste this onto the other photo.

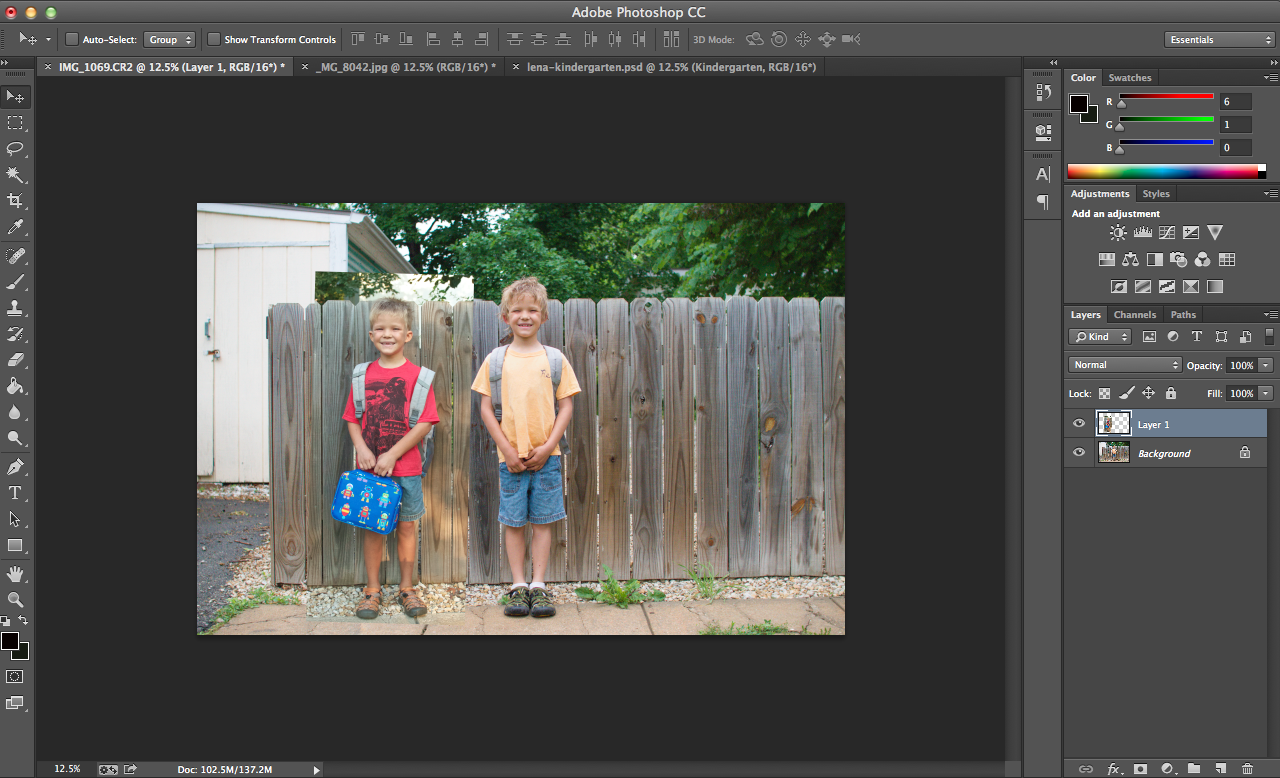
- Now, use the background (in my case the fence) to line your two photos up. You will probably need to use the “Free Transform”(⌘T on a Mac on CTRL-T on a PC). Things may not line up perfectly (note the rocks at the bottom of my image), but do your best.
- Now, switch to the eraser tool. Make it pretty large, and start removing the extra background on your pasted layer. Do not bother getting too close to your subject. We’ll deal with that in a minute. Just remove any major excess.

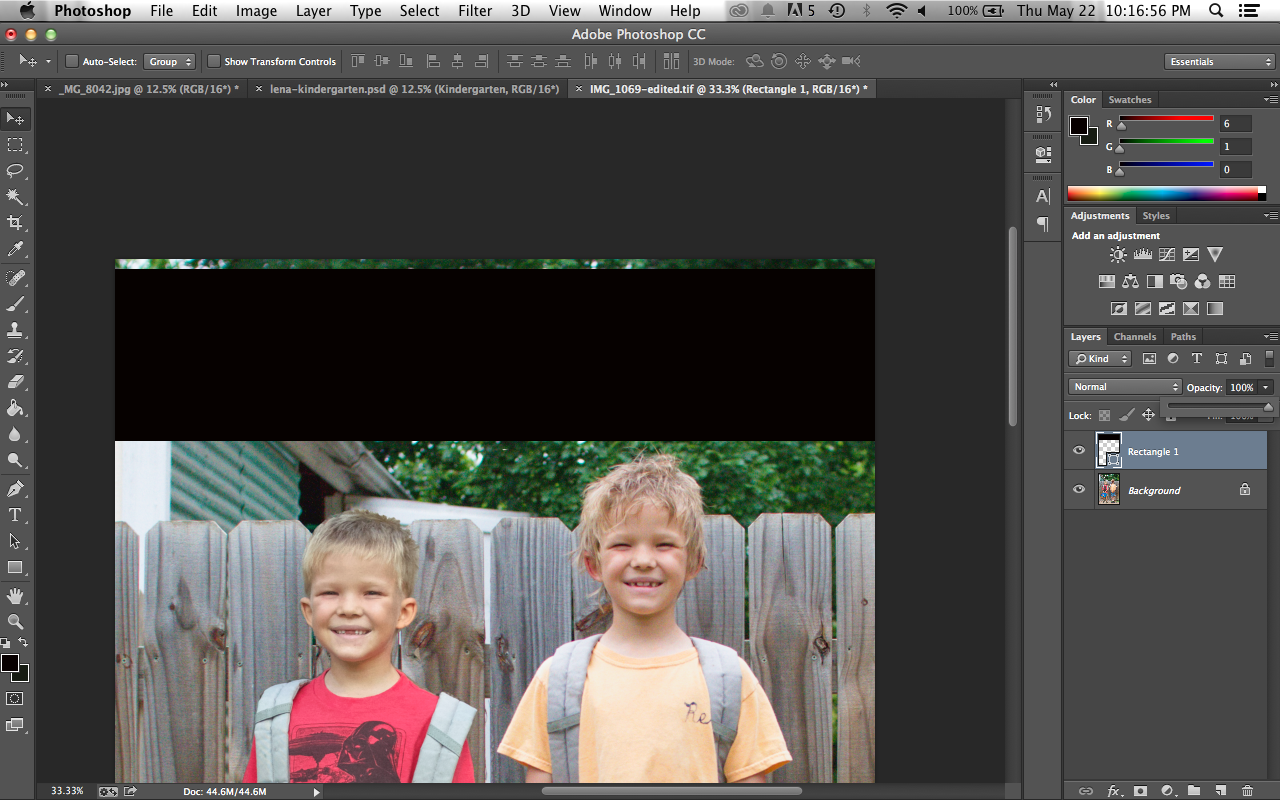
- Once you’ve removed the large chunks of background, switch to the background eraser tool (the eraser plus scissors). Now you will use this tool to go around your subject again, but get much closer this time. You may need to adjust to tolerance. Here I have mine set at 12%.

- Now go back over it with the regular eraser and touch up any areas where the background eraser didn’t get everything you wanted.
- Zoom out to look at your photo. The composite part should be nearly done; do any final touch ups.
- Now, it’s time to add the text. I like to do this by adding a black rectangle with white text, like a chalkboard. Start with the rectangle shape tool and make your rectangle.

- I like to adjust the opacity(in your layers section), for a softer look. In my final image, I have it set at 73%.
- Now, just type your text on. I like to use school-inspired fonts. Da Font is a good place to download free fonts.

- All done!


If you are wondering about obtaining Lightroom and/or Photoshop, I highly recommend the Adobe Photoshop Photography Program, which gives you Lightroom and Photoshop for $10/mo.
Questions? Comments? Ready to give it a try?
